Next: 2.4 Running FLASH Up: 2. Quick Start Previous: 2.2 Unpacking and configuring Contents Index
The FLASH code runs natively on Unix environments. Especially if you will be using a personal machine such a as laptop computers to run FLASH, it can be time-consuming and nontrivial to set up the required environment and install the required libraries as described in the previous sections, and in particular to satisfy the system requirements listed above.
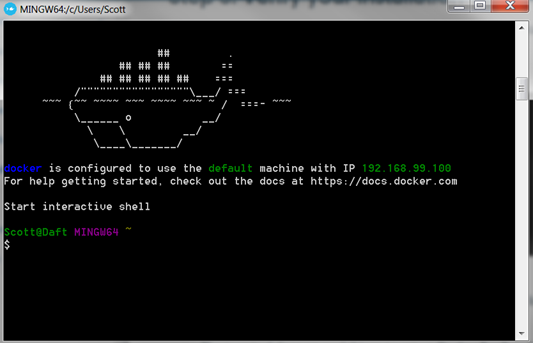
As an alternative way to quickly get to a working environment for using FLASH, we use the Docker platform and make a predefined image available. If you want to follow this path, the remainder of this sections gives some quick start instructions.
Download Docker for your operating system and install it following the online instructions at https://docs.docker.com/get-started. The image we will be using contains a lightweight Unix distro with everything pre-compiled, tagged as icksa/flash4-deps. From the terminal/command line, you will need to download the image with:
> docker pull icksa/flash4-deps
The container will then be initialized interactively while also loading a shared volume so as to access your file system and the folder where you will unpack the FLASH distribution. Make sure that the volume or folder you want to be shared between the container and the host filesystem is listed under Preferences => File Sharing. The Docker command would look something like this in MacOS, with the contents of the shared folder /Users/petros residing inside the /mnt/petros directory of the container:
> docker run -v /Users/petros:/mnt/petros -it icksa/flash4-deps
For more information on Docker refer to the above-mentioned link and the Docker User's Guide, which can be found online at https://docs.docker.com/engine/userguide.
To visualize the FLASH simulation results we will be primarily using VisIt, an interactive, parallel visualization and graphical analysis tool for viewing scientific data. It can be downloaded for your platform from https://wci.llnl.gov/simulation/computer-codes/visit/downloads; see also Sec:visit. While the VisIt GUI is pretty intuitive for simple plots, you can find information on more advanced data analysis methods at http://www.visitusers.org.
You will need a text editor to modify the code files. The Docker image comes with vim installed but, if you prefer to edit the files on your native platform, feel free to choose whichever software you like. Some suggestions in no particular order:
https://www.sublimetext.com
https://notepad-plus-plus.org
https://www.activestate.com/komodo-ide/downloads/edit
https://atom.io
The following clarifications are for users of certain older version of Microsoft Windows and can be ignored by othr users. Docker for Windows (best, native option) runs on 64-bit Windows 10 Pro, Enterprise and Education (1511 November update, Build 10586 or later). Docker Toolbox (legacy systems) runs on 64-bit Windows 7 or higher.
Setup of Docker Toolbox for legacy Windows systems (e.g. Windows 7 64-bit):
> docker pull icksa/flash4-deps
C:\Users\Scott\Documents\Docker Test Folder” represented under
“/mnt/scott”, execute:
> docker run -v "//c/Users/Scott/Documents/Docker Test Folder:/mnt/scott" -it icksa/flash4-deps